How to Add Animation in Flutter? (Spinning Box Example)
In this blog post, we’ll explore the basics of Animation in Flutter using a rotating box example. Flutter’s animation framework allows developers to create smooth, interactive, and delightful user experiences.
You can follow the official documentation to set up Flutter: Flutter Installation Guide.
This example not only demonstrates the basic principles of animation in Flutter but also showcases how to create a visually appealing animated widget.
Animation in Flutter is achieved through the use of the Animation class and its subclasses. This AnimationController is a key component that manages the animation state, providing control over the duration, curve, and repetition of the animation.
Table of Contents
Introduction to Animation in Flutter
Animations in Flutter are achieved through the use of the Animation class and its various subclasses. The animation framework provides a way to interpolate values over time, allowing you to create smooth transitions between different states of your UI.
import 'dart:math' as math;
import 'package:flutter/material.dart';

void main() => runApp(const ExampleApp());

class ExampleApp extends StatelessWidget {
  const ExampleApp({super.key});

  @override
  Widget build(BuildContext context) {
    return const MaterialApp(
      home: AnimatedWidgetExample(),
    );
  }
}
The AnimatedWidget
One way to implement animations in Flutter is by using the AnimatedWidget class. This class simplifies the process of listening to an animation and rebuilding the widget tree when the animation values change.
class RotatingBox extends AnimatedWidget {
  const RotatingBox({
    super.key,
    required AnimationController controller,
  }) : super(listenable: controller);

  Animation<double> get _progress => listenable as Animation<double>;

  @override
  Widget build(BuildContext context) {
    return Transform.rotate(
      angle: _progress.value * 2.0 * math.pi,
      child: Container(
        width: 100.0,
        height: 200.0,
        decoration: BoxDecoration(
          color: Colors.pink[100],
          borderRadius: BorderRadius.circular(20.0),
          border: Border.all(color: Colors.grey, width: 4.0),
          boxShadow: [
            BoxShadow(
              color: Colors.black.withOpacity(0.3),
              blurRadius: 10.0,
              offset: const Offset(0, 5),
            ),
          ],
        ),
      ),
    );
  }
}
In this example, we have a RotatingBox widget that extends AnimatedWidget. It takes an AnimationController as a parameter, which controls the animation’s duration and vsync (vertical synchronization). The rotation angle of the box is determined by the animation’s progress.
The AnimatedWidgetExample
Now, let’s look at the main widget that utilizes our RotatingBox and controls the animation.
class AnimatedWidgetExample extends StatefulWidget {
  const AnimatedWidgetExample({super.key});

  @override
  State<AnimatedWidgetExample> createState() => _AnimatedWidgetExampleState();
}

class _AnimatedWidgetExampleState extends State<AnimatedWidgetExample>
    with TickerProviderStateMixin {
  late final AnimationController _controller = AnimationController(
    duration: const Duration(seconds: 10),
    vsync: this,
  )..repeat();

  @override
  void dispose() {
    _controller.dispose();
    super.dispose();
  }

  @override
  Widget build(BuildContext context) {
    return RotatingBox(controller: _controller);
  }
}
The AnimatedWidgetExample widget is a StatefulWidget that creates an instance of AnimationController. The controller is responsible for managing the animation’s duration, vsync, and repetition. In this case, the rotation animation will repeat indefinitely.
- Class Definition:
_AnimatedWidgetExampleStateis a private class that extendsState<AnimatedWidgetExample>. In Flutter, eachStatefulWidgethas an associated state class where you handle the mutable state of the widget.
- Mixin Usage:
- The
with TickerProviderStateMixinindicates that this class can provide aTickerProvider, which is required to create anAnimationController. TheTickerProvideris usually provided by theStateobject, and in this case, it’s fulfilled by theTickerProviderStateMixin.
- The
- Animation Controller Initialization:
AnimationControlleris initialized within the class. It is responsible for managing the animation. Thedurationparameter is set to 10 seconds, specifying how long the animation should take to complete one cycle. Thevsyncparameter is set to, which means that theStateobject itself is used as theTickerProvider.- The
..repeat()is a cascade operator, which calls therepeatmethod on theAnimationController. This ensures that the animation repeats indefinitely.
- Dispose Method:
- The
disposemethod is overridden to handle the cleanup when the state object is no longer needed. In this case, it disposes of theAnimationControllerto free up resources.
- The
- Build Method:
- The
buildmethod is overridden to define the UI of the widget. It returns aRotatingBoxwidget, passing the previously createdAnimationControllerto control the rotation animation.
- The
Output:
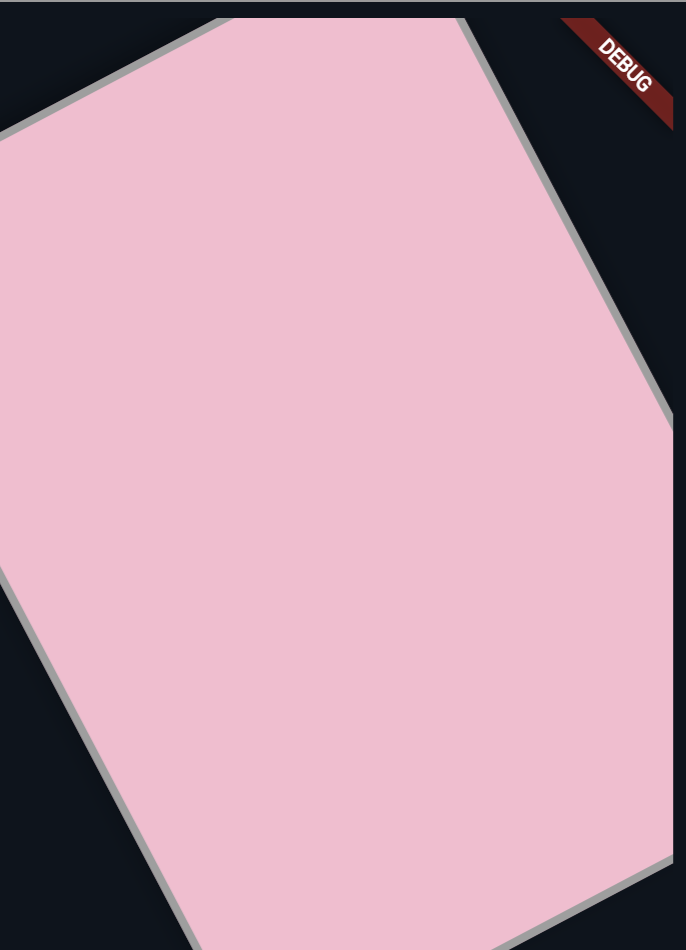
this is to click screenshots of output.
Also Read:
Conclusion
Animation in Flutter adds life and dynamism to your applications, making them more visually appealing and engaging for users. The provided example demonstrates the use of AnimatedWidget and AnimationController to create a rotating box.
Experiment with different animations, durations, and easing curves to tailor the user experience to your app’s specific needs.
In future blog posts, we’ll explore more advanced animations, transitions, and best practices for incorporating animations seamlessly into your Flutter applications. Stay tuned for more insights into the fascinating world of Flutter development

About Ambika Dulal
Lead Mobile App Developer and Tech Consultant specializing in Flutter, Dart, and Firebase.