How to Create Dynamic Gridview in Flutter?

In this blog post, we’ll explore the capabilities of Dynamic Gridview in Flutter, enabling you to build flexible and responsive grid-based interfaces. Follow along with a real-world code example to master the art of implementing a dynamic GridView in Flutter.
Table of Contents
Dynamic GridView in Flutter
A GridView in Flutter is a scrollable, 2D array of widgets that’s perfect for displaying data in a grid format. When the content of the grid needs to change dynamically, Flutter’s GridView.builder comes into play.
This dynamic approach is invaluable when working with data sets that can grow or shrink during runtime, offering a seamless user experience.
Let’s delve into a real-world example to illustrate the implementation of a dynamic GridView in Flutter.
import 'package:flutter/material.dart';

void main() => runApp(MyApp());

class MyApp extends StatelessWidget {
  @override
  Widget build(BuildContext context) {
    return MaterialApp(
      home: DynamicGridViewExample(),
    );
  }
}

class DynamicGridViewExample extends StatefulWidget {
  @override
  _DynamicGridViewExampleState createState() => _DynamicGridViewExampleState();
}

class _DynamicGridViewExampleState extends State<DynamicGridViewExample> {
  List<String> data = [
    'Item 1',
    'Item 2',
    'Item 3',
    'Item 4',
    'Item 5',
    'Item 6',
    'Item 7',
    'Item 8',
    'Item 9',
  ];

  @override
  Widget build(BuildContext context) {
    return Scaffold(
      appBar: AppBar(
        title: Text('Dynamic GridView Example'),
      ),
      body: GridView.builder(
        gridDelegate: SliverGridDelegateWithFixedCrossAxisCount(
          crossAxisCount: 2, // Set the number of columns
          crossAxisSpacing: 8.0, // Set the spacing between columns
          mainAxisSpacing: 8.0, // Set the spacing between rows
        ),
        itemCount: data.length,
        itemBuilder: (context, index) {
          return Card(
            child: Center(
              child: Text(data[index]),
            ),
          );
        },
      ),
      floatingActionButton: FloatingActionButton(
        onPressed: () {
          // Add a new item to the list
          setState(() {
            data.add('New Item');
          });
        },
        child: Icon(Icons.add),
      ),
    );
  }
}
What code want to say:
- We create a Flutter project and a StatefulWidget named
DynamicGridViewExample. - In the state class (
_DynamicGridViewExampleState), we initialize a List of Strings nameddatawith some sample items. - The
buildmethod returns a Scaffold widget containing an AppBar, a dynamic GridView, and a FloatingActionButton. - The dynamic GridView is created using the
GridView.builderconstructor, allowing for the efficient creation of grid items based on the length of the data. - The
gridDelegateproperty is used to configure the layout of the grid, specifying the number of columns (crossAxisCount) and the spacing between them. - The
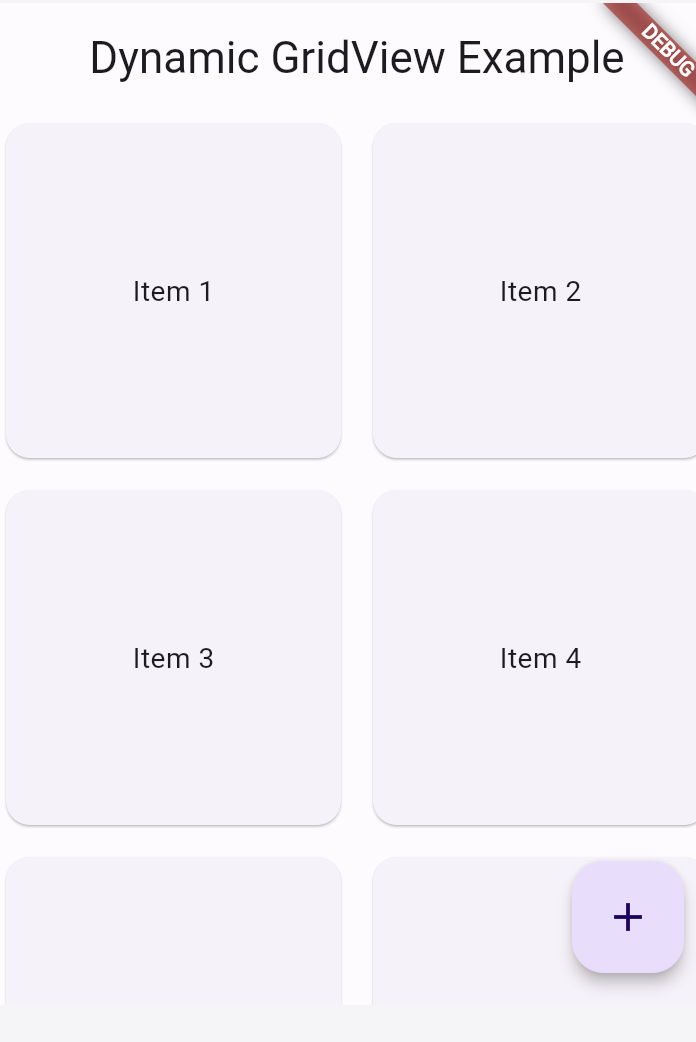
itemBuilderthe function is responsible for creating each grid item. It takes an index and returns a widget to be displayed at that index in the grid. - The FloatingActionButton is used to demonstrate the dynamic nature of the GridView. When pressed, it adds a new item (‘New Item’) to the list, triggering a rebuild of the UI with the updated data.
Output:
Another Way Dynamic Gridview in Flutter
If you prefer using GridView.count for a fixed number of columns, here’s the modified example:
import 'package:flutter/material.dart';

void main() => runApp(MyApp());

class MyApp extends StatelessWidget {
  @override
  Widget build(BuildContext context) {
    return MaterialApp(
      home: DynamicExpansionGridExample(),
    );
  }
}

class DynamicExpansionGridExample extends StatefulWidget {
  @override
  _DynamicExpansionGridExampleState createState() => _DynamicExpansionGridExampleState();
}

class _DynamicExpansionGridExampleState extends State<DynamicExpansionGridExample> {
  List<String> data = ['Item 1', 'Item 2', 'Item 3', 'Item 4', 'Item 5'];

  @override
  Widget build(BuildContext context) {
    return Scaffold(
      appBar: AppBar(
        title: Text('Dynamic ExpansionGrid Example'),
      ),
      body: GridView.count(
        crossAxisCount: 2,
        crossAxisSpacing: 8.0,
        mainAxisSpacing: 8.0,
        children: List.generate(data.length, (index) {
          return ExpansionTile(
            title: Text(data[index]),
            children: [
              // Additional content for each item goes here
              ListTile(
                title: Text('Additional Content 1'),
              ),
              ListTile(
                title: Text('Additional Content 2'),
              ),
            ],
          );
        }),
      ),
      floatingActionButton: FloatingActionButton(
        onPressed: () {
          // Add a new item to the list
          setState(() {
            data.add('New Item');
          });
        },
        child: Icon(Icons.add),
      ),
    );
  }
}
What code want to say
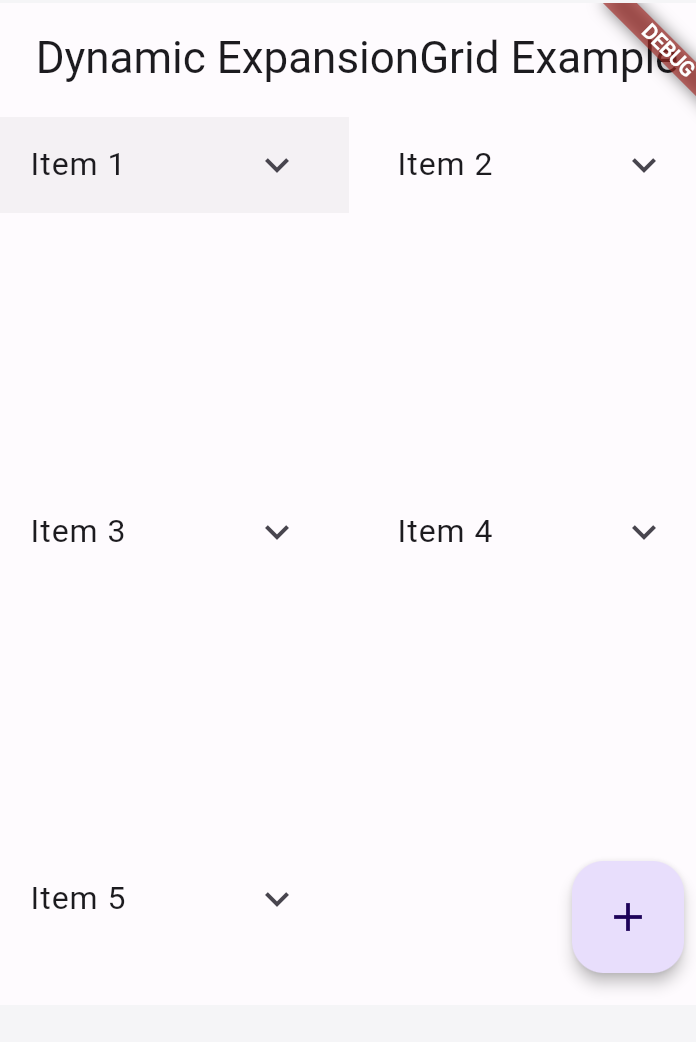
This modified example achieves the same dynamic grid layout using GridView.count a fixed number of columns, maintaining the expandable nature of each item.
Output:
Also Read:
Conclusion
Mastering the dynamic GridView in Flutter opens up exciting possibilities for building interactive and visually appealing grid-based layouts.
The provided code example showcases the flexibility and ease of implementing a dynamic GridView, allowing you to confidently integrate this powerful widget into your Flutter projects.
Experiment with the code, customize the grid layouts and enhance your app’s user interface with dynamic and responsive grid views.

About Ambika Dulal
Lead Mobile App Developer and Tech Consultant specializing in Flutter, Dart, and Firebase.