How to Add Border to Container in Flutter?
In this guide, we’ll explore four different methods to add border to container widgets in Flutter, each with its unique style and process.
As we know in Flutter, the Container widget is a versatile tool for building UI layouts. One of its key features is the ability to add borders, which can enhance the visual appeal and structure of your app’s interface.
Table of Contents
Check Out:
- How to Add Border Radius to Container Flutter?
- How to Add Borders to Textfield in Flutter?
- How to Add Border to Card in Flutter?
- TextButton with rounded corner and circle border in flutter
4 Ways to Add Border to Container in Flutter
These are the main ways to add a border to a container in Flutter.
1. Add Border to Container widget
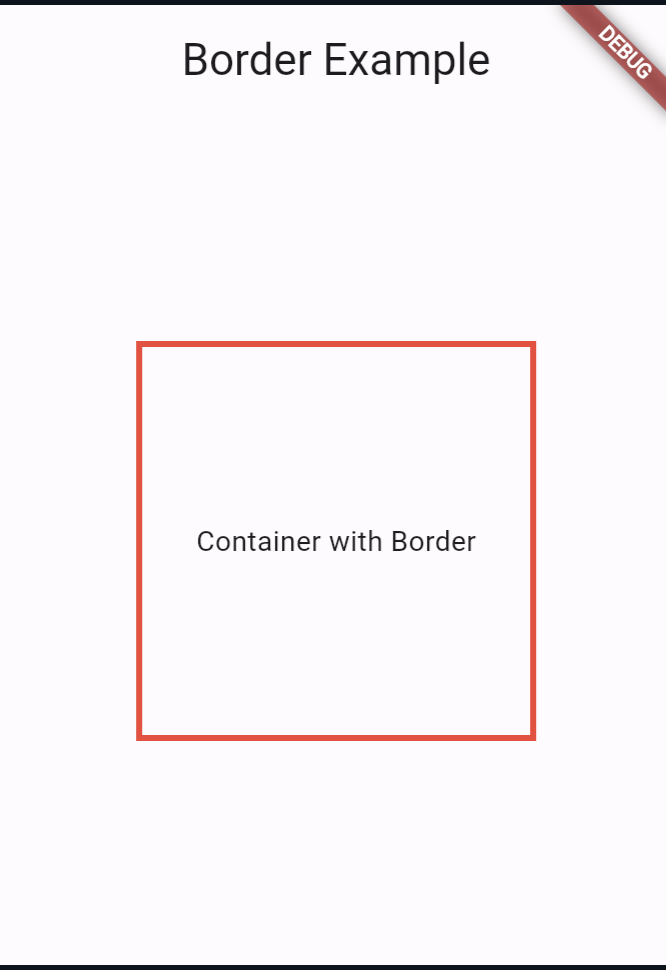
In the first example, we’ll demonstrate the simplest way to add a border to a container using the decoration property. This method allows you to specify the border color and width.
Using the Container widget’s decoration property:
import 'package:flutter/material.dart';

void main() {
  runApp(MyApp());
}

class MyApp extends StatelessWidget {
  @override
  Widget build(BuildContext context) {
    return MaterialApp(
      home: Scaffold(
        appBar: AppBar(
          title: Text('Border Example'),
        ),
        body: Center(
          child: Container(
            width: 200,
            height: 200,
            decoration: BoxDecoration(
              border: Border.all(
                color: Colors.black,
                width: 2.0,
              ),
            ),
            child: Center(child: Text('Container with Border')),
          ),
        ),
      ),
    );
  }
}- This is the most straightforward way to add a border to a container.
- You can use the
BoxDecorationclass and itsborderproperty to define the border.
Output:

2. Using the DecoratedBox widget
import 'package:flutter/material.dart';

void main() {
  runApp(MyApp());
}

class MyApp extends StatelessWidget {
  @override
  Widget build(BuildContext context) {
    return MaterialApp(
      home: Scaffold(
        appBar: AppBar(
          title: Text('Border Example'),
        ),
        body: Center(
          child: DecoratedBox(
            decoration: BoxDecoration(
              border: Border.all(
                color: Colors.red,
                width: 3.0,
              ),
            ),
            child: Container(
              width: 200,
              height: 200,
              child: Center(child: Text('Container with Border')),
            ),
          ),
        ),
      ),
    );
  }
}
The DecoratedBox widget provides a convenient way to add a decoration (including a border) to its child widget.
Output:
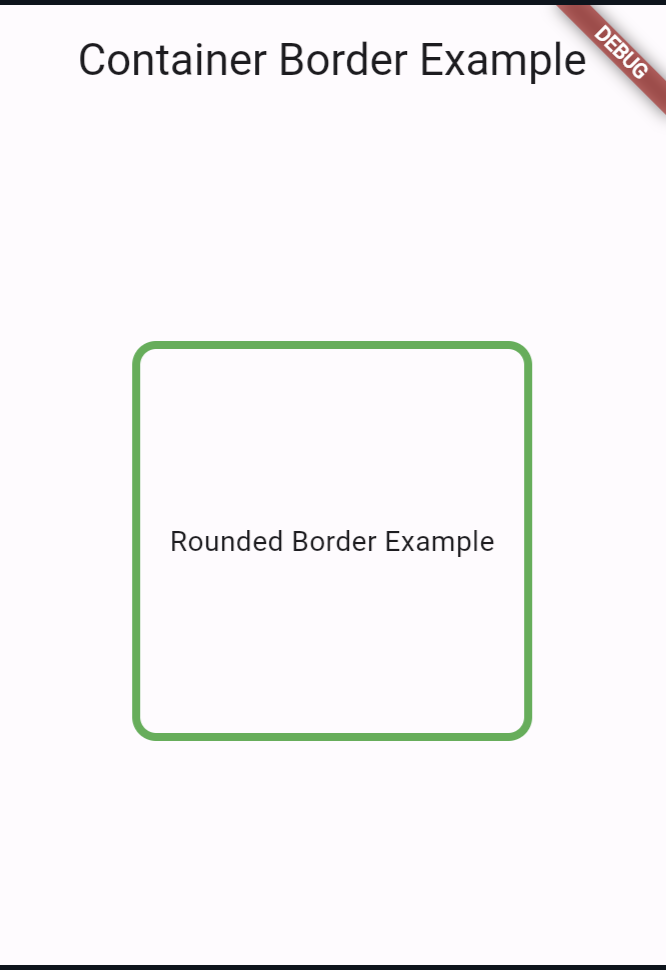
3. Using the shape property of the Container widget
import 'package:flutter/material.dart';

void main() {
  runApp(MyApp());
}

class MyApp extends StatelessWidget {
  @override
  Widget build(BuildContext context) {
    return MaterialApp(
      home: Scaffold(
        appBar: AppBar(
          title: Text('Border Example'),
        ),
        body: Center(
          child: Container(
            width: 200,
            height: 200,
            decoration: BoxDecoration(
              shape: BoxShape.rectangle,
              border: Border.all(
                color: Colors.green,
                width: 4.0,
              ),
            ),
            child: Center(child: Text('Container with Border')),
          ),
        ),
      ),
    );
  }
}- You can use the
shapeproperty of theContainerwidget to define a custom shape for the container, which can also include a border. - This approach is more complex and requires creating a custom
ShapeBorderclass.
Output:
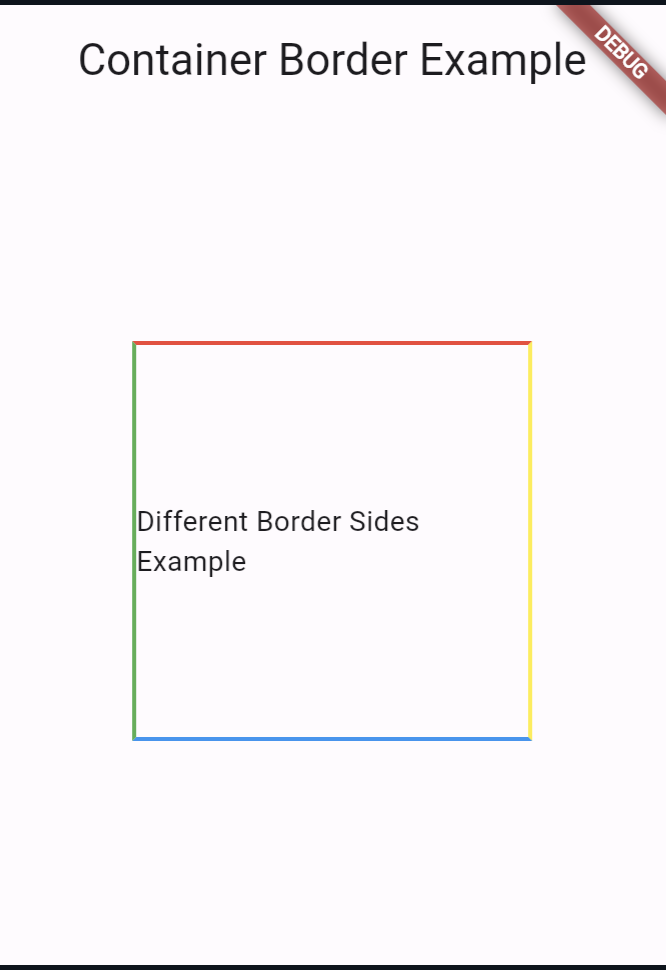
4. Using the Border class directly
import 'package:flutter/material.dart';

void main() {
  runApp(MyApp());
}

class MyApp extends StatelessWidget {
  @override
  Widget build(BuildContext context) {
    return MaterialApp(
      home: Scaffold(
        appBar: AppBar(
          title: Text('Border Example'),
        ),
        body: Center(
          child: Container(
            width: 200,
            height: 200,
            decoration: BoxDecoration(
              border: Border(
                top: BorderSide(color: Colors.blue, width: 2.0),
                right: BorderSide(color: Colors.yellow, width: 4.0),
                bottom: BorderSide(color: Colors.green, width: 3.0),
                left: BorderSide(color: Colors.red, width: 1.0),
              ),
            ),
            child: Center(child: Text('Container with Border')),
          ),
        ),
      ),
    );
  }
}- You can create a custom
Borderobject and assign it to theborderproperty of theBoxDecorationclass. - This approach allows you to create complex border configurations, such as having different border styles or colors for each side of the container.
Output:
Conclusion
In each example, the key part is the BoxDecoration widget, where you can define the border using the border property. The Container widget is used to hold the content, and its size is set using the width and height properties.
If you haven’t already installed Flutter, you can follow the official: Flutter Installation Guide. to set it up.

About Ambika Dulal
Lead Mobile App Developer and Tech Consultant specializing in Flutter, Dart, and Firebase.