How to Implement Multi-layer Dropdown List in Flutter?

In this tutorial, we’ll delve into building a multi-layer Dropdown List in Flutter example with the Flutter application.
First, let’s set up our Flutter project. Ensure you have Flutter installed on your system, and you’ve set up your preferred development environment.
Once that’s done, create a new Flutter project, and let’s dive into the code. If not, you can follow the official installation guide to set it up.
Table of Contents
- Setup for Dropdown List in Flutter – layer 1
- Setup for Dropdown List in Flutter – layer 2
- Full code of Dropdown List in Flutter
- Code Breakdown
- At the end
Setup for Dropdown List in Flutter – layer 1
In this part of the code, we’re declaring a variable named _dropdownItems1. Let’s break it down further:
List<String>: This indicates that_dropdownItems1is a list that can only contain strings. In Dart, you can specify the type of elements that a list can hold using<Type>.- Here,
Stringspecifies that_dropdownItems1will contain strings. _dropdownItems1: This is the name of the variable. The underscore at the beginning conventionally indicates that this variable is private to its library.
List<String> _dropdownItems1 = [
    'Category Layer 1',
    'Category Layer 2',
    'Category Layer 3',
  ];
Setup for Dropdown List in Flutter – layer 2
Map<String, List<String>>: This indicates that_dropdownItems2is a map where the keys are strings and the values are lists of strings. In Dart, you can specify the type of keys and values that a map can hold using<KeyType, ValueType>. Here, both the key type (String) and the value type (List<String>) are specified._dropdownItems2: This is the name of the variable. Like_dropdownItems1, the underscore at the beginning conventionally indicates that this variable is private to its library.
Map<String, List<String>> _dropdownItems2 = {
  'Category Layer 1': ['Item 1-1', 'Item 1-2', 'Item 1-3'],
  'Category Layer 2': ['Item 2-1', 'Item 2-2', 'Item 2-3'],
  'Category Layer 3': ['Item 3-1', 'Item 3-2', 'Item 3-3'],
};
Full code of Dropdown List in Flutter
import 'package:flutter/material.dart';
void main() {
runApp(MyApp());
}
class MyApp extends StatelessWidget {
@override
Widget build(BuildContext context) {
return MaterialApp(
title: 'Multi-layer Dropdown Example',
home: MultiLayerDropdownExample(),
);
}
}
class MultiLayerDropdownExample extends StatefulWidget {
@override
_MultiLayerDropdownExampleState createState() => _MultiLayerDropdownExampleState();
}
class _MultiLayerDropdownExampleState extends State<MultiLayerDropdownExample> {
String? _selectedItem1;
String? _selectedItem2;
List<String> _dropdownItems1 = [
'Category Layer 1',
'Category Layer 2',
'Category Layer 3',
];
Map<String, List<String>> _dropdownItems2 = {
'Category Layer 1': ['Item 1-1', 'Item 1-2', 'Item 1-3'],
'Category Layer 2': ['Item 2-1', 'Item 2-2', 'Item 2-3'],
'Category Layer 3': ['Item 3-1', 'Item 3-2', 'Item 3-3'],
};
@override
Widget build(BuildContext context) {
return Scaffold(
appBar: AppBar(
title: Text('Multi-layer Dropdown Example'),
),
body: Center(
child: Column(
mainAxisAlignment: MainAxisAlignment.center,
children: [
DropdownButton<String>(
value: _selectedItem1,
items: _dropdownItems1.map((String item) {
return DropdownMenuItem<String>(
value: item,
child: Text(item),
);
}).toList(),
onChanged: (String? newValue) {
setState(() {
_selectedItem1 = newValue;
_selectedItem2 = null;
});
},
hint: Text('Select category'),
),
SizedBox(height: 20),
_selectedItem1 != null
? DropdownButton<String>(
value: _selectedItem2,
items: _dropdownItems2[_selectedItem1]!.map((String item) {
return DropdownMenuItem<String>(
value: item,
child: Text(item),
);
}).toList(),
onChanged: (String? newValue) {
setState(() {
_selectedItem2 = newValue;
});
},
hint: Text('Select item'),
)
: SizedBox(),
],
),
),
);
}
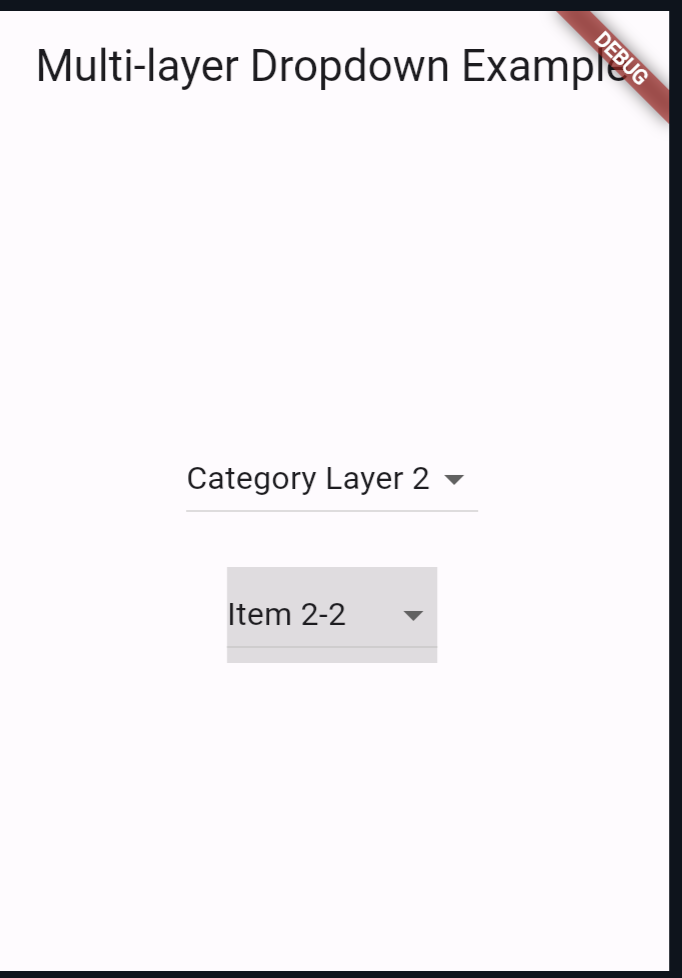
}Output
Code Breakdown
Explanation:
- Main Function: We kickstart our Flutter application by calling the
runApp()function with ourMyAppwidget. - MyApp Class: This class represents the root of our application. It returns a
MaterialAppwidget, defining the title and home screen of our app. - MultiLayerDropdownExample Class: This is a StatefulWidget representing our multi-layer dropdown example. It maintains the state of the selected items.
- _MultiLayerDropdownExampleState Class: This class manages the state of our dropdowns. It keeps track of the selected items for both layers.
- _selectedItem1 and _selectedItem2: These variables hold the currently selected items for the first and second dropdown layers, respectively.
- _dropdownItems1 and _dropdownItems2: These lists hold the options for the dropdowns.
_dropdownItems1represents the categories for the first layer, while_dropdownItems2is a map where keys are categories from_dropdownItems1, and values are lists of items for the second layer.
Also Read
- How to Convert Int to Double in Flutter?
- Form Validation in Flutter: A Step-by-Step Guide
- How to Customize Dropdown Button Using Dropdownbuttonformfield in Flutter?
- How to Implement Multi-layer Dropdown List in Flutter?
At the end
Dropdown menus are fundamental UI components that enhance user interaction, and Flutter provides powerful tools to create them efficiently. With this knowledge, you can now integrate multi-layer dropdowns into your Flutter applications.

About Ambika Dulal
Lead Mobile App Developer and Tech Consultant specializing in Flutter, Dart, and Firebase.