How to Remove Iconbutton Padding in Flutter?

In this tutorial, we are going to learn to remove Iconbutton padding in Flutter using five different ways.
Each way is demonstrated with full source code to remove padding around the icon button so that you can easily copy and paste the code in your Flutter app.
Table of Contents
5 Ways to Remove Iconbutton Padding in Flutter
Sure, here are complete code examples for each of the methods to remove the padding around an IconButton widget in Flutter:
1. Using the IconButton.iconSize property
import 'package:flutter/material.dart';

void main() {
  runApp(MyApp());
}

class MyApp extends StatelessWidget {
  @override
  Widget build(BuildContext context) {
    return MaterialApp(
      home: Scaffold(
        appBar: AppBar(
          title: Text('IconButton Padding Example'),
        ),
        body: Center(
          child: IconButton(
            iconSize: 40.0, // Increase this value to reduce padding
            icon: Icon(Icons.add),
            onPressed: () {
              // Handle button press
            },
          ),
        ),
      ),
    );
  }
}- The
IconButtonwidget has aiconSizeproperty that allows you to control the size of the icon. - By setting the
iconSizeto a larger value, you can effectively reduce the padding around the icon.
2. Using the IconButton.padding property:
import 'package:flutter/material.dart';

void main() {
  runApp(MyApp());
}

class MyApp extends StatelessWidget {
  @override
  Widget build(BuildContext context) {
    return MaterialApp(
      home: Scaffold(
        appBar: AppBar(
          title: Text('IconButton Padding Example'),
        ),
        body: Center(
          child: IconButton(
            padding: EdgeInsets.zero, // Remove all padding
            icon: Icon(Icons.add),
            onPressed: () {
              // Handle button press
            },
          ),
        ),
      ),
    );
  }
}- The
IconButtonwidget has apaddingproperty that allows you to directly set the padding around the icon. - By setting the
paddingto a smaller value orEdgeInsets.zero, you can remove the padding.
3. Using the IconButton.constraints for Remove Iconbutton Padding in Flutter
import 'package:flutter/material.dart';

void main() {
  runApp(MyApp());
}

class MyApp extends StatelessWidget {
  @override
  Widget build(BuildContext context) {
    return MaterialApp(
      home: Scaffold(
        appBar: AppBar(
          title: Text('IconButton Padding Example'),
        ),
        body: Center(
          child: IconButton(
            constraints: BoxConstraints(
              minWidth: 20.0, // Adjust these values to reduce padding
              minHeight: 20.0,
            ),
            icon: Icon(Icons.add),
            onPressed: () {
              // Handle button press
            },
          ),
        ),
      ),
    );
  }
}- The
IconButtonwidget has aconstraintsproperty that allows you to specify the minimum and maximum size constraints for the button. - By setting the
constraintsto a smaller value, you can effectively reduce the padding around the icon.
4. Wrapping the IconButton with a Padding widget
import 'package:flutter/material.dart';

void main() {
  runApp(MyApp());
}

class MyApp extends StatelessWidget {
  @override
  Widget build(BuildContext context) {
    return MaterialApp(
      home: Scaffold(
        appBar: AppBar(
          title: Text('IconButton Padding Example'),
        ),
        body: Center(
          child: Material(
            shape: CircleBorder(),
            clipBehavior: Clip.hardEdge,
            color: Colors.transparent,
            child: Ink(
              decoration: BoxDecoration(
                color: Colors.blue,
                shape: BoxShape.circle,
              ),
              child: IconButton(
                icon: Icon(Icons.add),
                color: Colors.white,
                onPressed: () {
                  // Handle button press
                },
              ),
            ),
          ),
        ),
      ),
    );
  }
}- You can wrap the
IconButtonwith aPaddingwidget and set thepaddingproperty to a negative value. - This approach can remove the padding around the
IconButtonand adjust the spacing as needed.
5. Creating a custom IconButton widget
import 'package:flutter/material.dart';

void main() {
  runApp(MyApp());
}

class MyApp extends StatelessWidget {
  @override
  Widget build(BuildContext context) {
    return MaterialApp(
      home: Scaffold(
        appBar: AppBar(
          title: Text('IconButton Padding Example'),
        ),
        body: Center(
          child: CustomIconButton(
            icon: Icons.add,
            onPressed: () {
              // Handle button press
            },
          ),
        ),
      ),
    );
  }
}

class CustomIconButton extends StatelessWidget {
  final IconData icon;
  final VoidCallback onPressed;

  CustomIconButton({
    required this.icon,
    required this.onPressed,
  });

  @override
  Widget build(BuildContext context) {
    return GestureDetector(
      onTap: onPressed,
      child: Icon(icon),
    );
  }
}- You can create a custom
IconButtonwidget by extending theStatelessWidgetclass and overriding thebuildmethod. - In the custom widget, you can remove the padding or adjust it according to your requirements.
Related Reading:
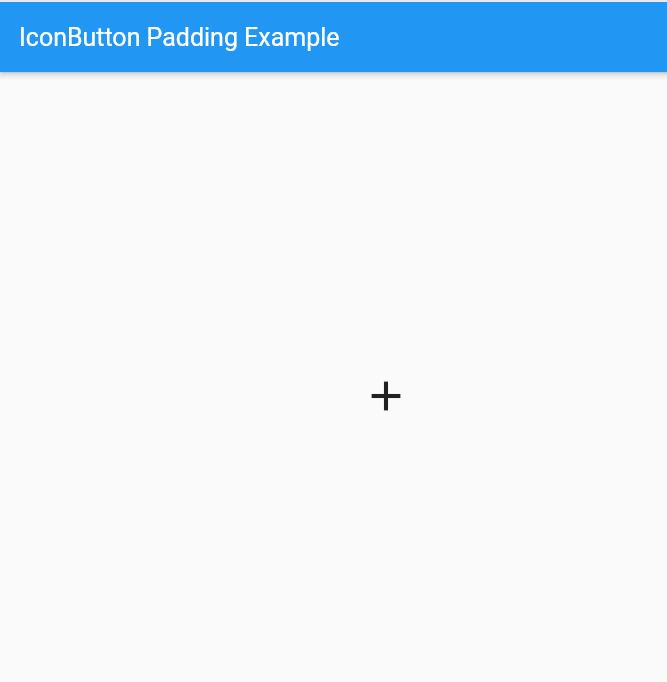
Output
Conclusion
In each example, the key part is either adjusting the properties of the IconButton widget or wrapping it with another widget to remove the padding. The Scaffold and Center widgets are used to position the IconButton in the center of the screen.
If you haven’t already installed Flutter, you can follow the official: Flutter Installation Guide. to set it up.

About Ambika Dulal
Lead Mobile App Developer and Tech Consultant specializing in Flutter, Dart, and Firebase.